Machine embroidery programs

Наш портал присвячений машинній вишивці, і пропонує вам дизайни для машинної вишивки та програмне забезпечення для роботи з дизайнами.Також на нашому порталі ви маєте змогу безкоштовно конвертувати файли для машинної вишивки. Кількість конвертацій необмежена.
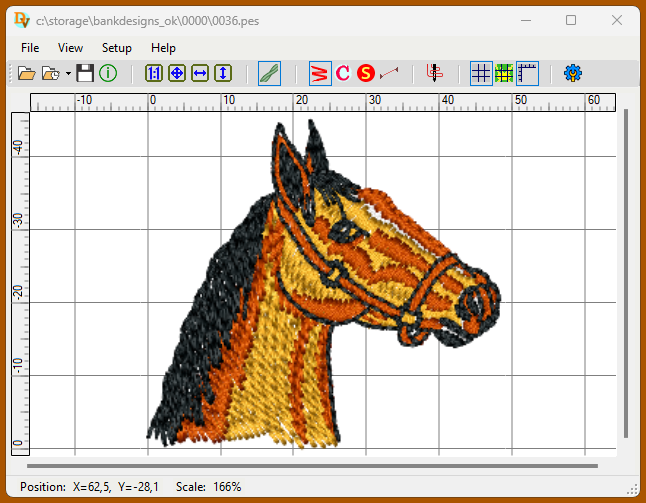
Представляємо вам програму для перегляду,аналізу та конвертації дизайнів машинної вишивки DesignView version 2.1 від 12 червня 2025 року.
Програму можна використовувати як конвертор дизайнів з одного формату в інший. DesignView підтримує запис та читання наступних форматів:
*.pes(Brother) *.dst(Tajima) *.pec(Brother) *.pcd(Pfaff) *.pcq(Pfaff) *.pcs(Pfaff) *.10o(Toyota) *.bro(Bits) *.dsb(Barudan) *.dsz(ZSK_USA) *.emd(Elna) *.exp(Melco) *.jef (Janome) *.sew(Janome) *.tap(Happy) *.u01 (Barudan) *.xxx (Singer)
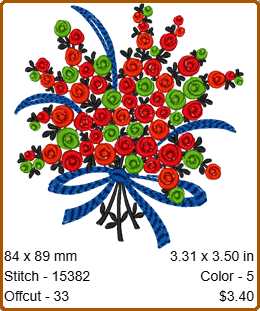
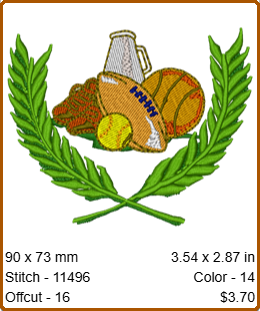
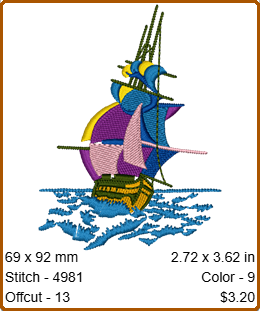
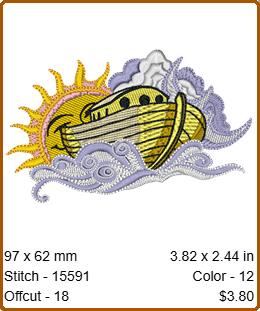
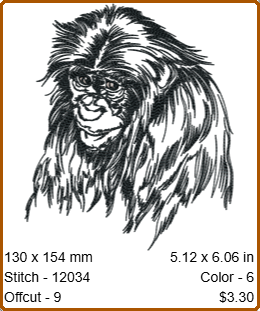
Програма може бути використання для оцінки кінцевого результату вишивки, кольорової гами, процесу вишивки, часу необхідного для вишивки та інших факторів присутніх в процесі вишивання.За допомогою DesignView ви можете отримати точне значення кольору нитки, яка буде використана в процесі вишивки.Також є можливість зберегти дизайн в графічному форматі *.jpg чи *.png.
Ви можете скачати програму для ознайомлення.Протягом 14 днів вона буде повністю функціональна. Програма поставляється в архівному вигляді, і не потребує установки.
Зверніть увагу, що при після покупки програми DesignView всі наступні її версії будуть надані вам безкоштовно, а також ви отримаєте можливість безкоштовно отримати 50 дизайнів машинної вишивки на ваш вибір. Вартість такої покупки вам обійдеться всього 49 доларів.
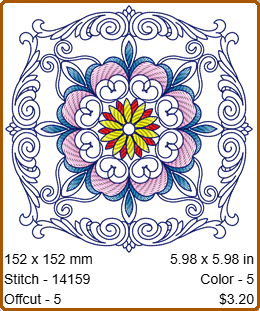
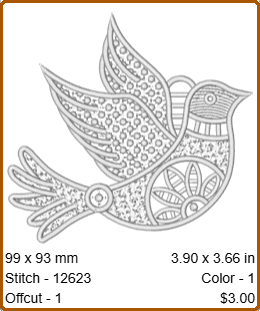
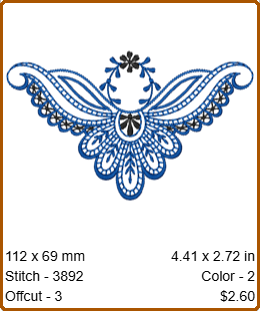
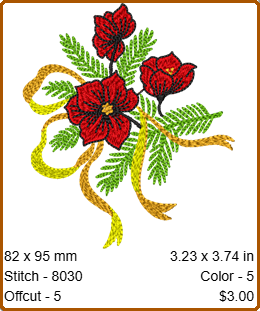
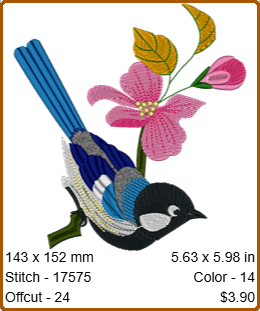
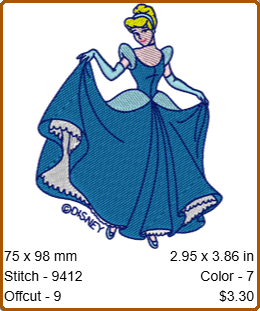
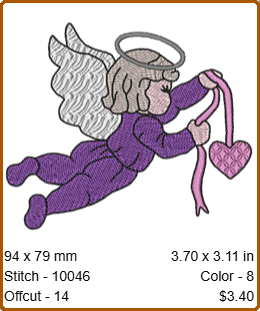
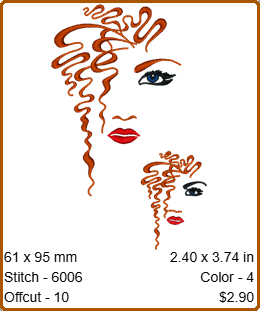
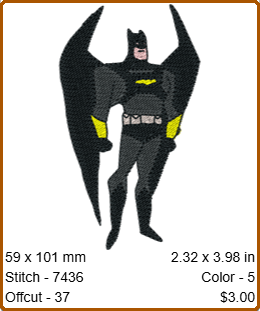
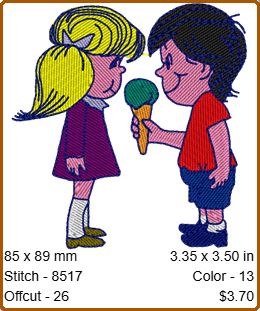
На нашому порталі присутні дизайни машинної вишивки які ви можете придбати за символічну ціну. Зверніть увагу, що ми регулярно поповнюємо колекцію дизайнів
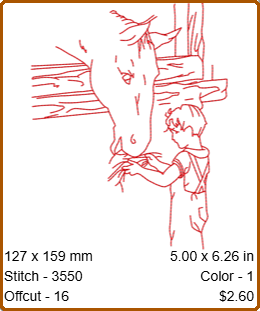
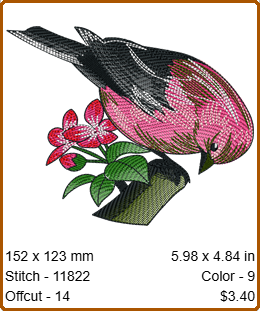
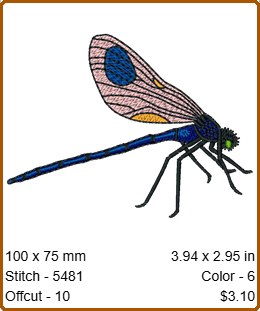
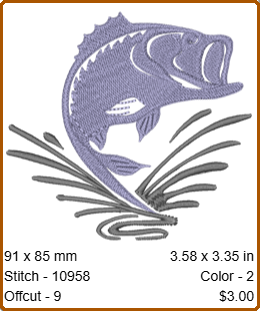
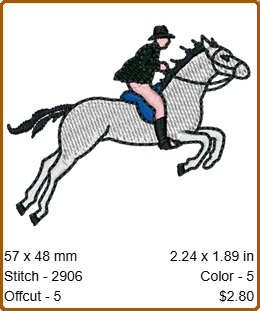
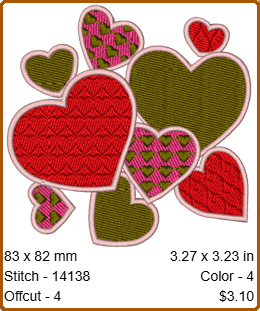
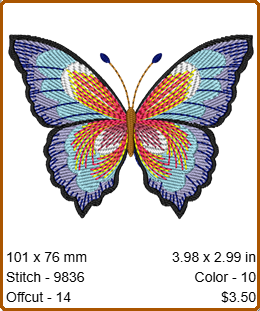
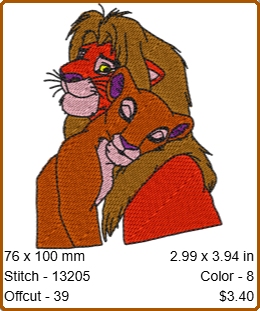
Дизайни машинної вишивки розділені на категорії, що дозволяє вам легко знайти те, що вам потрібно. Ви можете переглядати дизайни за категоріями, та сортувати їх за різними параметрами, такими як ширина,висота,загальна площа вишивки, кількість кольорів, кількості стібків чи за ціною. Завітайте в розділ з дизайнами і ви зможете знайти багато цікавого для себе.